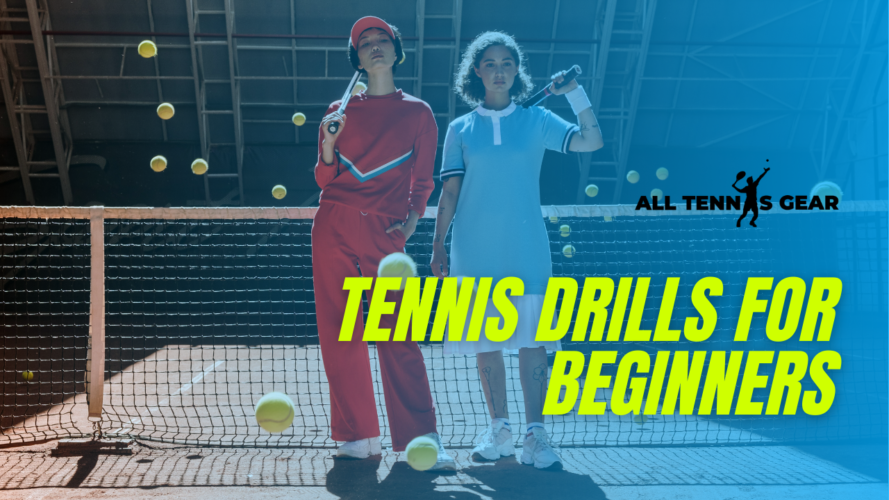
If you are a newbie in the world of tennis, try learning the fundamentals, developing proper techniques, improving consistency, boosting confidence, and accelerating your learning with these 7 tennis drills for beginners.
Like most sports, tennis involves integrating a complicated set of movements. For your ease, I will break down the complex set into individual movements. It will gradually lift any player’s confidence level, enabling them to combine movements.
This article unravels some of the tennis drills for beginners. Each of these tennis drills for beginners will build upon the upcoming natural sequence, helping newbies understand the various concepts while offering elaborate instructions for them to run the exercise on their own.
Let’s dive in without any further delay!
How to Grab a Tennis Racquet?
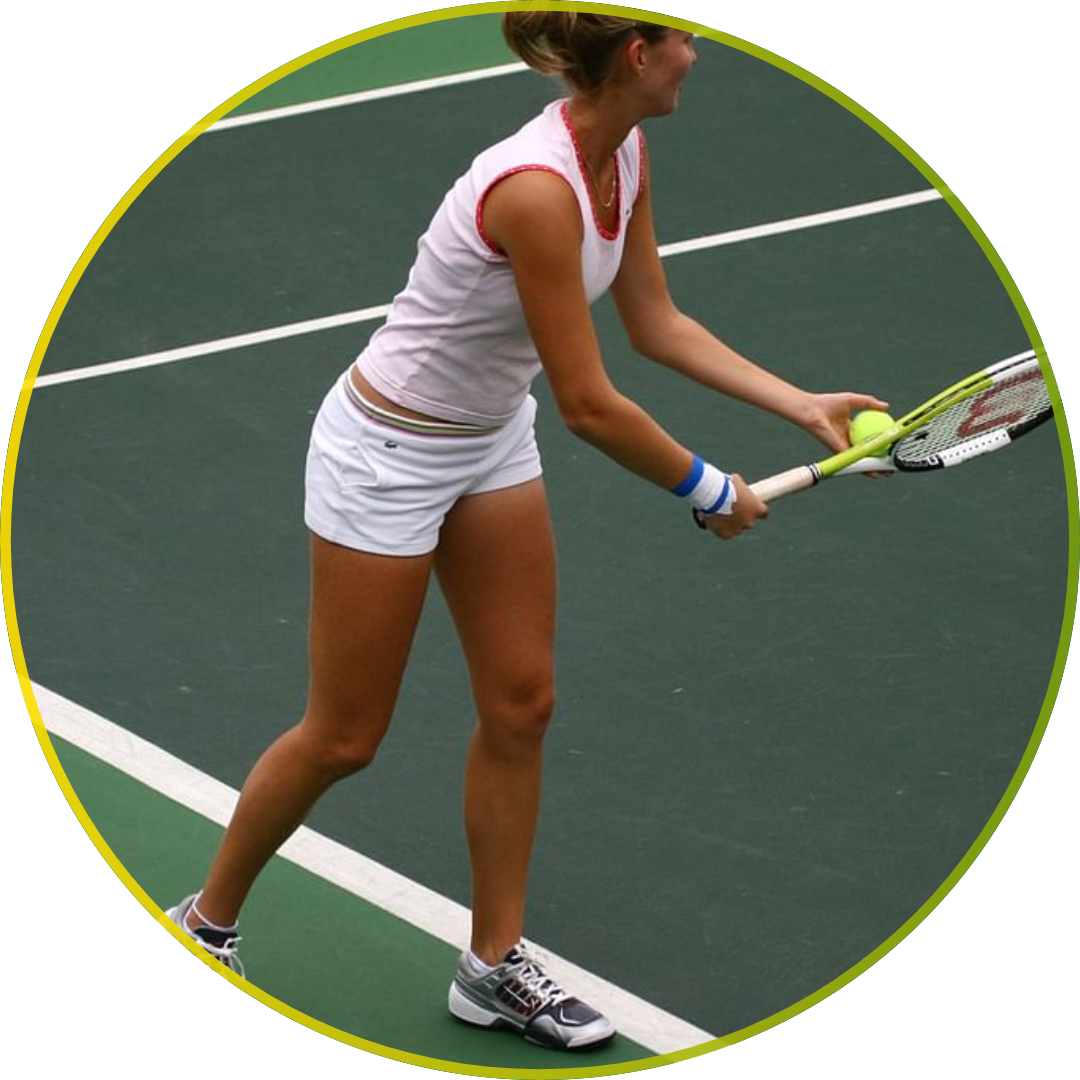
To start, it is better to learn about the easy-grip system, which is the same as the grip by the semi-western forehand. Hold the racquet handle with the striking hand as if both are performing the same motion. You are aware that this is a forehand grasp.
There are other ways to hold like the eastern forehand, backhand grip, continental grip, and western forehand. Later on, these can be brought into the process.
Remember to keep things easy, learn in an interesting way to keep yourself from getting bored, and lose interest in the game.
Here, I will focus more on entertaining drilling instead of some theoretical knowledge distribution.
Warming Up
It involves running the lines. Before you strike, it is useful to build up your anticipation and get the blood flowing.
A fantastic way to ensure this is to train players on how to run the lines of any tennis court. What do players gain from this?
Firstly, it helps the players to get loose and warm. Furthermore, it offers an excellent chance to signal the names of the tennis court lines.
7 Tennis Drills for Beginners
Let us check out some of the different movement drills.
1. Shoe Box Drill
Sounds cool, right?
You need a partner to try this drill with. Once you have a partner, you can start performing it. As a trainee, you will need to hold a shoebox on the baseline’s middle while your partner throws a ball.
You have to catch the thrown ball inside your box. While this goes on, you will stand on the other end of the net. Grab that ball and return to your earlier position before your partner throws the next one.
During the training, you cannot be stationary. Even while standing, you cannot cease your motion completely.
Ask your partner to throw the tennis ball in both the right and left directions. As you become better, you can try practicing with other players.
2. Two Racquet Drill
Another fun lesson that beginners will enjoy is the two racquet catch. To give you an overview, it involves holding 2 racquets in both hands and catching the ball to put it inside the basket. You must have guessed that this needs a partner as well. Yes, you are right!
On the baseline, you will stand grabbing two racquets with your hands. A basket must be placed in front of you. This time, you will stand on the opposite end of the net.
Your partner will throw the ball at you. Initially, ask your partner to remain close to you. Later, the distance can be increased.
After the ball bounces once, catch it using two racquets. Run to the basket to drop your ball there. Yahoo! You did it!
You could catch the ball with your racquets and carry the ball to the basket using them. Move back to your initial position and start over again. Practice at least 20 times in a row to gain consistency.
3. Catch and Drop
Up next is a simple but fun tennis lesson for newbies. It has some similarities with the last drill. The only difference is that you will need to hold only one racquet with your playing hand.
Standing in the mid of the baseline, you remain jumping. All you need to do is catch the ball with the racquet and the other resting hand before placing it in the basket.
Let me explain it to you in detail. Just like other drills, you need a partner to try this with. This partner will continuously throw balls at you from the other end of the net.
After the ball bounces once, catch it using your racquet and resting hand together. Next, run to the basket, holding your ball, and place it inside the basket. Lastly, move back to your original position and resume jumping.
Keep the basket near you initially. Later, increase the level of difficulty by increasing the distance from time to time. Practice at least 20 times to get better at it.
4. Stop to Drop
By far, this is the most difficult drill in this article. If you do not take up challenges, you cannot upgrade yourself to a professional player. Let us see what is exciting about this drill.
Although it seems quite similar to the Catch and Drop drill, it is slightly more challenging. You are not allowed to use your hands to stop the ball. Yes, you can only use the tennis racquet.
Do not shiver at the thought of this. Even though touching using your hand is forbidden, your ball needs to reach the basket. Hence, place it on the string of your racquet, holding it horizontally.
Other procedures are just like before. Standing stationary is also restricted. In the mid of the court’s baseline, you should keep jumping. With your playing hand, hold a tennis racquet. Your partner from the other end will throw balls.
Next, you stop the ball with your racquet. It is not at all easy as it sounds. Be careful to not drop the ball before putting it inside the basket. One tactic is to run towards the basket instead of walking.
Holding the tennis racquet horizontally, remember to maintain balance as you carry your ball on the upper part of the racquet body.
At last, move back to your starting position. Step up the difficulty by placing the basket further from you.
Practice at least 30 times to hone your Stop to Drop drill.
5. Cone Drill
For beginners, this is one of the most common tennis drills. Relatively easier, this lesson is entirely different than the other drills I have discussed till now.
Other than enhancing tennis performance, it improves your eye-ball coordination strength, resulting in better concentration ability.
As the movement drills almost have the same process, it must be easy for you to understand. Stand on the opposite end of the net, and keep moving. You need to hold a cone where you will catch the ball.
Ask your partner to throw balls one after another. Catch it using your cone. Here is where the twist comes. Focus on making the ball glide smoothly onto your cone.
Deduct a tennis point each time you miss. This way, you will be motivated to perform better. Repeat this cone drill 20 times.
Phew, this is the end of my movement drill! Now that you have done it all, pat yourself on the back.
Next up, I have the Ball Control Drill.
6. Ball Control Drills
For the following section, I will cover one ball control drill. It will help to focus on polishing your ball-controlling ability.
Even though these skills eventually come to players, it is mandatory to practice them for beginners.
7. Frying Pan
You must have guessed it by its name. Yes, you need to cook your favorite food. Does cooking help to learn the ball control drill?
It’s nothing like this. You don’t have anything to cook here, but carry out the cooking style you do with a frying pan. Let’s check out how.
Hold the tennis racquet with your striking hand. Toss the ball high up. As soon as the ball starts to fall, put your racquet under your ball—next, the ball rebounds. Keep doing these steps.
To step up, you mark a line and gradually move towards it, doing the frying pan drill. As you level up, you can turn around, not stopping the bouncing method.
Final Words
So that’s a wrap for my tennis drills for beginners. All the drills I have covered are mandatory and basic to escalate your tennis skills.
These, however, are not the only ones. Consider this the first phase. You will find more tennis drills as you move on to the next levels. Till then, good luck! Do not forget to drill!
Read More: Why Are Tennis Balls Used on Walkers?
My name is Reagen and I started AllTennisGear (earlier AllTennisShoes) as a way to share my humble experience and help new Tennis players. Thank you for spending a few minutes of your day here and know that your feedback is always welcome.